Introduction
Hello, stainless steel aficionados! Today, we’re diving into the exciting world of passivation. If you’re scratching your head wondering what passivation is, don’t worry! It’s a process that helps your stainless steel items, like those sleek Unity Metal railings, maintain their rust-free, shiny appearance. Think of it as a spa treatment for your stainless steel, providing an extra layer of protection against corrosion. Intrigued? Let’s jump right in!
Table of Contents
Understanding Stainless Steel and Passivation
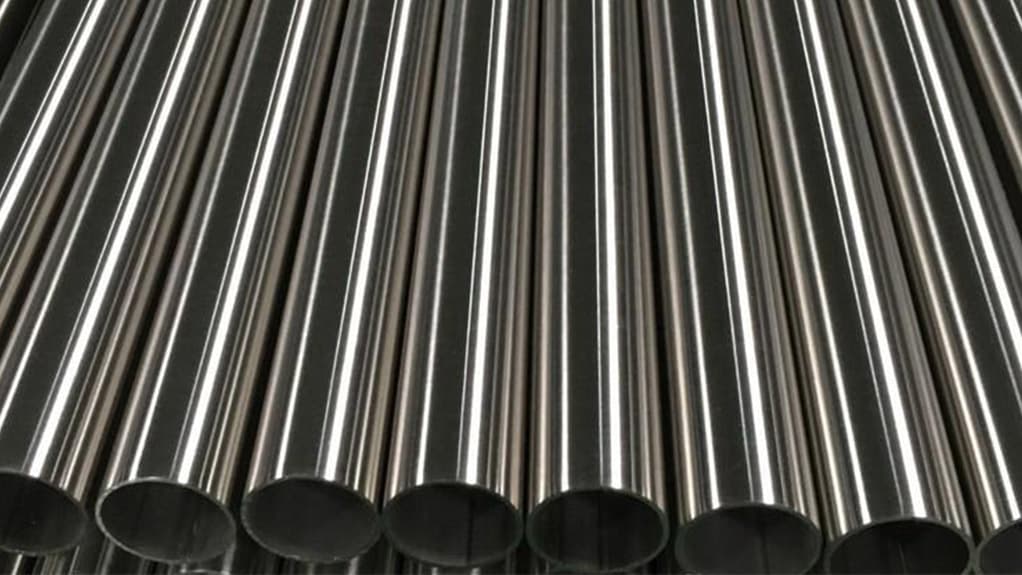
Stainless steel is a star in the world of materials, thanks to its strength, durability, and that shiny allure we all love. But what makes it “stainless”? It’s all about the chromium content, which forms a protective layer of chromium oxide on the steel’s surface. This layer is what gives stainless steel its corrosion resistance.
Now, let’s talk about passivation. This process enhances the protective properties of stainless steel by removing free iron from the surface that could lead to rust if left untreated. The result? A passive, protective layer that keeps your stainless steel looking as good as new. So, whether you’re a seasoned engineer, a DIY enthusiast, or just someone who loves learning new things, understanding how to passivate stainless steel is a skill worth having.

Why Passivate Stainless Steel?
You might be thinking, “Why should I bother with passivation?” Well, my friend, it’s all about longevity and aesthetics. Stainless steel is loved for its sleek, shiny look and its resistance to rust. But, without passivation, your stainless steel could lose its luster over time.
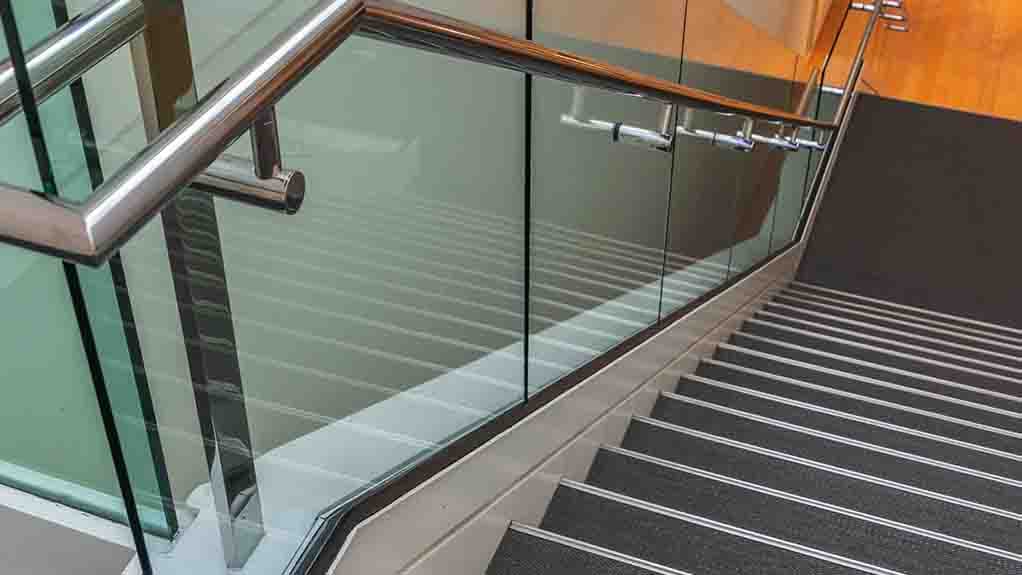
Imagine you’ve just installed a stunning stainless steel railing from Unity Metal. It’s gleaming, it’s beautiful, and it’s the envy of your neighbors. But, without passivation, that railing could start to show signs of rust. Not a pretty sight, right?
Passivation also enhances the natural corrosion resistance of stainless steel. It’s like giving your stainless steel a shield to fend off the elements. So, if you want your stainless steel to stay shiny and rust-free for longer, passivation is the way to go.
The Science Behind Passivation
Now, let’s get a little science-y. Don’t worry, I’ll keep it simple. Stainless steel is stainless because it has a thin layer of chromium oxide on its surface. This layer is naturally self-healing, meaning if it gets scratched, it can repair itself. Pretty cool, right?
But here’s the catch. If there’s free iron on the surface of your stainless steel, it can disrupt this self-healing process. That’s where passivation comes in. The passivation process removes these iron contaminants and allows the chromium oxide layer to do its job.
So, in essence, passivation is like a superhero, swooping in to save the day (or in this case, the stainless steel) from the villainous rust.
Step-by-Step Guide to Passivate Stainless Steel
Ready to give your stainless steel the spa treatment it deserves? Here’s a simple step-by-step guide to passivating stainless steel.
- Clean the Surface: Start by giving your stainless steel a good clean. Remove any dirt, grease, or other contaminants. This ensures the passivation process can work its magic effectively.
- Apply the Passivation Solution: Next, apply your chosen passivation solution. This is usually a mild acid, like citric or nitric acid. Make sure to follow the manufacturer’s instructions to the letter.
- Rinse and Dry: Once the passivation process is complete, rinse the stainless steel thoroughly and dry it. This removes any residual acid and stops the passivation process.
Remember, safety first! Always wear protective clothing and goggles when handling acids.

Safety Measures During Passivation
Speaking of safety, let’s delve a little deeper into that topic. Working with acids, even mild ones, can be dangerous if not done properly. So, here are a few safety measures to keep in mind.
Firstly, always wear protective clothing, including gloves and goggles. This protects your skin and eyes from the acid. Secondly, work in a well-ventilated area. This ensures any fumes from the acid are safely dispersed.
And finally, always follow the manufacturer’s instructions when using a passivation solution. These instructions are there for a reason, so make sure to read them thoroughly.
Common Misconceptions About Passivating Stainless Steel
Now, let’s bust some myths about stainless steel passivation. First up, the idea that stainless steel doesn’t rust. While it’s true that stainless steel is more resistant to rust than other metals, it’s not entirely rust-proof. That’s why passivation is so important.
Another common misconception is that passivation weakens the stainless steel. In fact, the opposite is true. Passivation actually strengthens the natural protective layer of the stainless steel, making it more resistant to corrosion.
So, don’t let these myths deter you from giving your stainless steel the TLC it deserves.
Best Practices for Passivating Stainless Steel
Alright, we’re nearing the end of our journey. But before we wrap up, let’s go over some best practices for stainless steel passivation.
Firstly, always clean your stainless steel before passivation. This ensures the process is as effective as possible.
Secondly, choose the right passivation solution for your stainless steel. Not all stainless steels are the same, so make sure to do your research.
And finally, don’t rush the process. Passivation takes time, so be patient. Remember, good things come to those who wait.
Conclusion
And there you have it, folks! A comprehensive guide to passivating stainless steel. Whether you’re looking to protect your Unity Metal railings or just want to learn something new, I hope you found this guide helpful.
Remember, passivation is all about preserving the beauty and longevity of your stainless steel. So, give it a go and watch as your stainless steel shines like never before.
Until next time, stay curious and keep learning!

FAQ
1. What is passivation in the context of stainless steel?
Passivation is a process that enhances the natural corrosion resistance of stainless steel. It involves treating the stainless steel with a mild oxidant, usually a citric or nitric acid solution, to remove free iron from the surface that could lead to rust if left untreated.
2. Why is it important to passivate stainless steel?
Passivation is important because it helps maintain the aesthetic and functional qualities of stainless steel. It removes surface contaminants that can cause rust and corrosion, thereby enhancing the natural corrosion resistance of the material. This helps keep stainless steel items, like railings and kitchen appliances, looking shiny and new for longer.
3. How do I passivate stainless steel at home?
To passivate stainless steel at home, you’ll need a passivation solution, usually a mild acid like citric or nitric acid. Start by cleaning the stainless steel thoroughly to remove any dirt or grease. Then, apply the passivation solution according to the manufacturer’s instructions. Once the process is complete, rinse the stainless steel thoroughly and dry it to remove any residual acid.
4. Is passivation safe?
While passivation is generally safe, it does involve the use of acids, which can be hazardous if not handled properly. Always wear protective clothing and goggles when handling acids, and work in a well-ventilated area. Also, be sure to follow the manufacturer’s instructions when using a passivation solution.
5. Can all stainless steel be passivated?
Most stainless steels can be passivated, but the effectiveness of the process can vary depending on the specific type of stainless steel and the passivation solution used. It’s always a good idea to check with the manufacturer or a materials science professional if you’re unsure.
