
Introduction: The importance of maintaining polished stainless steel railings
Ah, stainless steel railings—sleek, shiny guardians of our safety and home aesthetics! But how do we keep them looking spiffy? Fear not, for polishing stainless steel railings is simple with the right tools and techniques. Read on to discover trade secrets and expert tips for a lustrous, fingerprint-free finish that’ll have your railings gleaming like new!
Table of Contents
In this guide,we’ll cover all the steps you need to properly polish stainless steel railings. We’ll start with what materials you’ll need, then walk you through cleaning, sanding, priming and waxing/buffing. At the end, we’ll talk about maintenance and touch on some optional decorative touches.
Let’s get started!
Step One – Gather Materials
Taking the time to properly maintain your stainless steel railings can help keep them in good condition for years. To begin the process of polishing your stainless steel railings, you will need to have a few items on hand.
- Soft cloth
- Water and mild detergent
- Sandpaper (medium to fine)
- Primer (suitable for stainless steel)
- Wax (metal or stainless steel grade)
- Buffer (electric or manual)
These materials should be readily available at any home improvement store or online. Be sure to check the labels of each item to make sure they are appropriate for use on stainless steel. You will also want to make sure to have safety glasses, a dust mask, and gloves for your protection during the polishing process.
Step Two – Cleaning the Surface
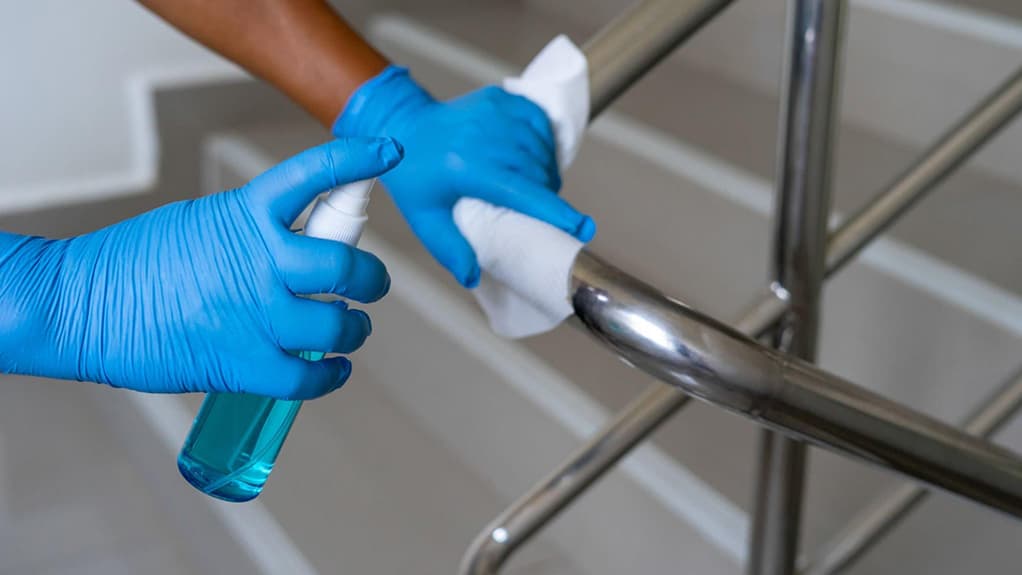
Now that you have gathered all your materials and are ready to begin, the first step is cleaning the surface of the stainless steel railing. To properly clean the stainless steel, you will need special cleaning agents designed specifically for stainless steel. Such agents can be found at most hardware stores.
Begin by spraying the stainless steel down with water to get rid of any dirt or dust that may be on the surface. Once you have done this, spray a vinegar solution onto the railing. Vinegar has natural acidity which helps remove stubborn residue and makes the cleaning easier. Give the railing five minutes to soak in the vinegar before using a soft cloth to scrub away any grime that may be lingering.
Once the grime has been removed, use a non-abrasive sponge and warm water to thoroughly rinse the railings. Be sure to get into all the crevices and corners. Make sure that all the vinegar residue has been washed off or it could create a sticky film on the railing. You may have to use a toothbrush or q-tip to get into those hard-to-reach places.
Finally, dry the railings completely before proceeding to the next step. A lint-free soft cloth or dry towel should suffice. This will ensure that your work area does not get too wet and that the surfaces are dry before you start the polishing process.
Step Three: Sand Surface of Stainless Steel
Sanding is a key step in the process of polishing stainless steel railings. Sanding provides the necessary foundation for the other steps to come. The stainless steel surface needs to be completely smooth before applying wax or primer.
Follow these steps to effectively sand your stainless steel railing. First, begin by using a sandpaper with a medium-grit, such as 220-grit or 240-grit. If possible, use a sandpaper specifically designed for working with stainless steel. This will help avoid scratching the surface.
Next, use the sandpaper and rub it in a circular motion. Start at the top and move your way down towards the bottom. As you work, the surface will become smoother and smoother. Keep in mind that the process will take time and patience. Do not rush as this can result in scratches and uneven surfaces.
When sanding, it is important to keep the surfaces wet. This will reduce friction and prevent sandpaper from clogging. Make sure to rinse the sandpaper often and use a spray bottle filled with water to keep the area moist.
After the entire surface has been sanded, use a finer grade of sandpaper, such as 400-grit or 600-grit. Use the same technique as before and sand in a circular motion. This finer grade of sandpaper will provide a smoother surface for the next steps. When finished, wipe down the surface with a dry cloth.
Now that the stainless steel has been properly sanded, you are ready to move onto the next step – applying primer.

Step Four – Apply Primer
The next step in polishing your stainless steel railing is to apply a primer. Primer helps the wax adhere better, so it’s important to make sure all surfaces have been properly primed. There are several different types of primer you can use, depending on your preference, but here are a few of the more popular options:
- Enamel Primer – Enamel primer will give you a long lasting, durable finish when combined with enamel paint.
- Stainless Steel Primer – Stainless steel primer is specially formulated for application on stainless steel and can help your railing shine.
- Epoxy Primer – Epoxy primer is perfect for areas that require extra strength and durability, such as railings.
When you’ve selected your primer, make sure you read the instructions carefully before applying. Depending on the type of primer you select, you may need to stir or shake the container prior to use. After that, apply an even coat of primer to the entire surface of the railing.
If the primer starts to dry before you’re finished applying it, don’t worry; just keep going. Once the entire surface is covered in primer, let it sit for at least five minutes before continuing.
Step Five – Apply Wax
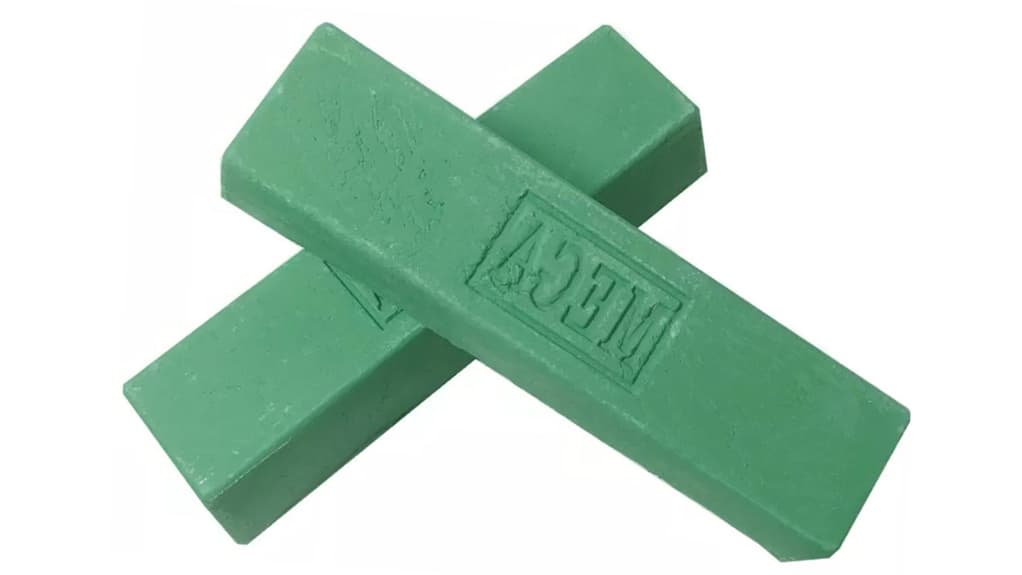
For the fifth step in polishing your stainless steel railing, you will need to apply a wax. Make sure to use either a carnauba wax or a polymer-based wax – these are the safest and most effective types of wax. Before you apply, be sure the surface is clean and dry.
Apply the wax with a soft cloth, making sure to work it into all the nooks and crannies. You may need to use a small paintbrush or other implement to get into hard to reach places. Wipe off any excess wax after you have finished. When complete, you should have a nice sheen across the entire railing.
Step Six – Buffing the Railing
Once you have applied the primer, wax and any other desired finishings it is time to start buffing the railing. Buffing stainless steel involves using a rotary tool with an appropriate buffing wheel. The wheel should be made of soft cloth material, such as cotton, and not have any metal bristles as this can damage the surface of the railing.
Before you start buffing, make sure to wear protective eye wear and gloves to keep safe. Start by buffing lightly with the wheel in a circular motion, gradually increasing the pressure. If you have an area that is more difficult to reach, switch to a smaller wheel attachment. Work slowly and carefully, and make sure to keep the wheel moving in the same direction to achieve a consistent finish.
Once you are done buffing, inspect the railing for any areas you may have missed and go over those if needed. After all the buffing is complete, you can proceed to the next step of cleaning the surface.
Step Seven: Clean Again
After you have finished buffing your stainless steel railings, the last step is to clean it one more time. This will remove any stubborn residue leftover after buffing, and will also help to protect the surface and make it easier to maintain in the future.
To begin, you’ll need to gather some materials. You’ll need a soft cloth, warm water, and a mild non-abrasive cleanser. Make sure to avoid any harsh chemicals or abrasives that could cause damage to the surface.
Once you have everything, it’s time to get started. Dip your soft cloth into the warm water and wring out any excess. Then, add a few drops of the non-abrasive cleanser to the cloth. You don’t need much, so use caution. Gently wipe down the surface of the railing, taking care to not press too hard or scrub too vigorously. You just want to remove any stubborn residue that may have been left behind after buffing.
Once you have cleaned the railing, take a dry, soft cloth and use it to remove any extra moisture. Do not leave any standing water on the railing. Finally, step back and admire your work! Once you are happy with the results, you can move on to the next step.
Step Eight – Final Polishing
Now that you have fully cleaned the stainless steel railing and have given it a nice finish with wax, it is time to finish up with a final polish for an extra shine. You will need either a soft cloth or some steel wool and your preferred cleaning solution.
Start by dampening the cloth or steel wool with the cleaning solution. Rub the cloth or steel wool over the railing in circular motions, applying pressure if needed. This will help restore the shine of the railing. Continue to rub until the desired level of polish has been achieved.
Be sure to avoid using harsh abrasives such as steel brushes or sandpaper during this step since they can damage the railing. Once you are satisfied with the final results, clean off any remaining solution with a dry cloth.
At this point, you now have a shiny and polished stainless steel railing which should last for many years to come!
Finishing Touches
Now that you have polished your stainless steel railings, your project is almost complete. To finish the job and make it look perfect, there are a few finishing touches that you can do. Adding some accessories or decorations to the railing can really make it stand out.
One way of doing this is to add some ribbon or flowers to the railing. You can tie a bright-colored ribbon around the railing in a decorative pattern or clip some flowers onto the railing using clips or suction cups. This will give the railing a bright and cheerful look.
Another way to decorate the railing is to attach some ornamental items, such as figurines, plaques, or even small sculptures. You can hang these from the railing, or attach them with screws so that they are securely in place.
Finally, you can use specialized polishes and treatments to give the railing an extra shine or a colored tint. There are many products on the market that are specifically designed for this purpose. Be sure to follow all instructions carefully if you choose to use these products.
By making these small additions to your railing, you can turn a dull and boring railing into something that stands out and makes a statement. With a little bit of effort, you can really make your railing look amazing.
Maintaining Your Stainless Steel Railings
Stainless steel is a strong, durable material that can stand up to harsh weather conditions and regular wear and tear. Proper maintenance is essential for keeping your stainless steel railings looking as new as the day they were installed. To maintain your railings in between polishing sessions, it is important to take basic steps to clean and keep them free of dirt and dust.
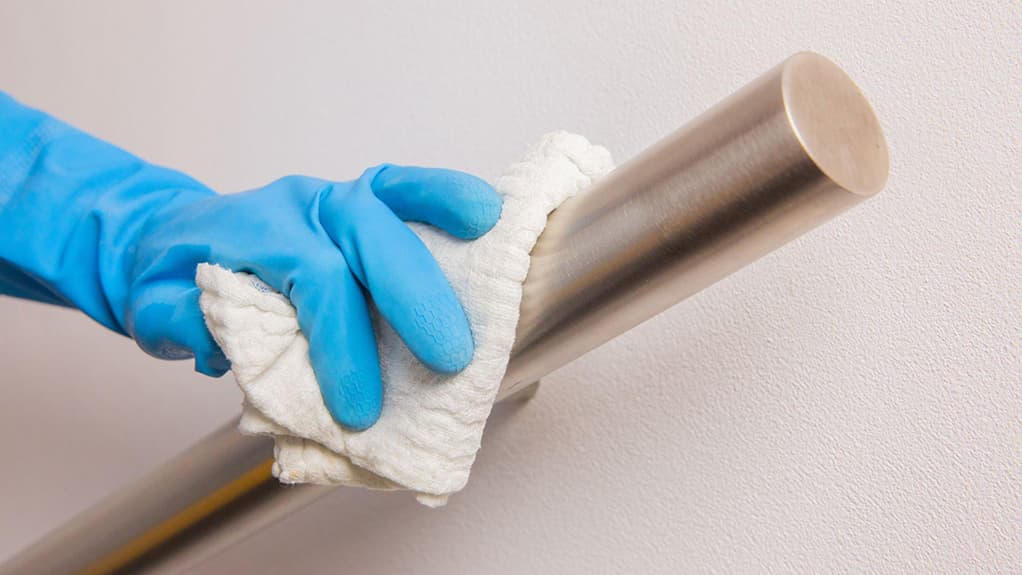
Cleaning Stainless Steel Railings
To clean surfaces of the railings, use a damp cloth to gently wipe away any dirt, dust and debris. To remove tough spots and stains, use a cleaner formulated specifically for stainless steel. Be sure to dilute any cleaners according to the instructions provided, then apply the mixture with a soft bristle brush and rinse off after cleaning. Avoid using abrasive materials or harsh chemicals as this may scratch or mar the stainless steel surface.
Protecting From Corrosion
It is also important to take steps to protect your stainless steel railing from corrosion. Stainless steel will naturally form a protective layer, but if it is exposed to water or other elements that can accelerate degradation, it can cause rust spots. To prevent this, wash off any dirt or residue regularly with a mild soap and water solution, then immediately dry the area with a soft cloth.
Inspections
Finally, it is also important to inspect your stainless steel railing regularly for signs of wear and tear. Be sure to look for loose bolts and connections, as well as any cracks or gaps. If you find any of these issues, be sure to repair or replace the parts before further damage occurs.
Conclusion
Polishing stainless steel railings doesn’t have to be a daunting task. In fact, with the right tools, techniques, and a little elbow grease, you’ll have those railings shining like the top of the Chrysler Building in no time! So, grab your microfiber cloth, roll up your sleeves, and prepare to dazzle your neighbors with your newfound polishing prowess.
Now, if you’re in the market for some top-notch Stainless Steel Railings, look no further than Unity Metal. As professional Stainless Steel Railings manufacturers, we know a thing or two about creating stylish, durable, and swoon-worthy railings that’ll make your space the envy of the block. Why not give your property a little extra oomph with the help of our experts?
In conclusion, taking care of your stainless steel railings is a cinch when you know how to do it right. So, let your inner Mr. Clean shine through and embrace the world of sparkling stainless steel. For all your Stainless Steel Railing needs and more, don’t hesitate to reach out to the pros at Unity Metal. We’re just a call away, ready to help you elevate your space to new heights of fabulousness. Happy polishing!
FAQs about Polishing Stainless Steel Railings
Q: What materials are necessary to polish stainless steel railings?
A: To polish stainless steel railings, you will need metal cleaner, steel wool, sandpaper, primer, wax, buffing cloth and a drill.
Q: How do I clean the stainless steel railings before polishing them?
A: Clean the surface of the railings using the metal cleaner and steel wool to remove any residue and rust.
Q: What is the best way to sand the surface of the railing?
A: Sand the railing with sandpaper in a circular motion. Be sure to sand the entire surface to create an even finish.
Q: What type of primer should I use when polishing railings?
A: Use a non-abrasive polish that is designed for metal surfaces.
Q: How do I apply the wax to the railing?
A: Use a soft cloth to apply the wax in a circular motion.
Q: How should I buff the railing after waxing?
A: Use a buffing cloth and a drill to work the wax into the railing and create a shine.
Q: How often do I need to maintain polished railings?
A: To keep your railings looking polished and beautiful, you should clean and reseal the surface every six months to one year.

