Your property is unique and a reflection of your architectural taste. As such, a stainless steel railing system on your property should match the existing design and capture the desired look you’re aiming for.
Table of Contents
There are many ways you can customize a stainless railing system to add sophistication to your property. Doing this starts with measuring your space to picture where you will install it and ends with fastening the last screw.
However, many considerations must be made until you get to the last step. That’s why we’re here, and in this article, we’ll provide you with insightful tips on how to customize a stainless steel railing. Read on to create a checklist for everything you need to achieve the perfect fit.

Step 1: Measure Your Space
Get your tape measure and measure the length of the area where you will install the railing. Make sure to note everything, including the obstacles on the railing’s path, as you will need them when creating your design.
You will need to measure the length to determine how many posts you will need. By doing so, you will also get a rough idea of the height of the railing.
Some building codes may require your railing to be at a minimum/maximum height or within specified measurements. For example, federal law requires handrails between 30 and 37 inches.
Consider the local building code when customizing your stainless steel railing to ensure safety and compliance.

Step 2: Choose Your Style
Once you form an idea of the installation location and how everything will be placed, choose a design that best fits your property’s aesthetic.
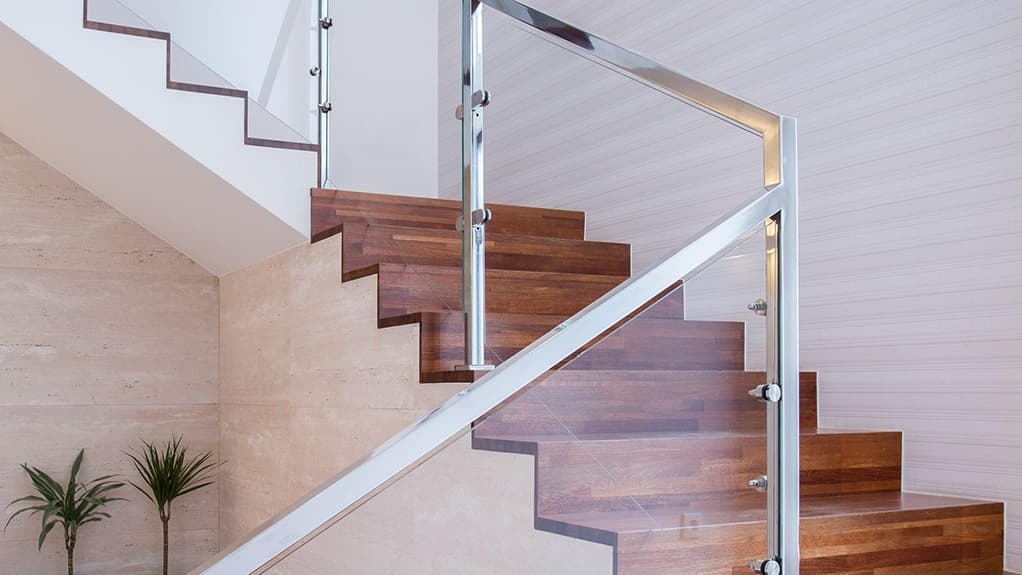
You can choose a modern design with glass panels for a minimalistic look or a more traditional approach. If you can’t decide, an ageless, contemporary design might fit just right. Browse Pinterest for inspiration to have an easier time customizing.
You can also tweak the railing by selecting a curved, angled, or entirely straight design. Although this depends more or less on where you will install it, think about these if the installation location can accommodate multiple options.

Step 3: Select Your Materials
The design of the railing system goes hand in hand with the materials. The materials used for the railing system can impact the look you’re after. At the same time, the materials used for the railing are crucial to ensure durability.
For example, if you choose railing parts made from standard stainless steel, they may corrode or rust outdoors. Always choose marine-grade stainless steel, such as 316 steel, for outdoor areas in humid climates, especially near saltwaters. For most indoor applications, 304 steel should suffice.
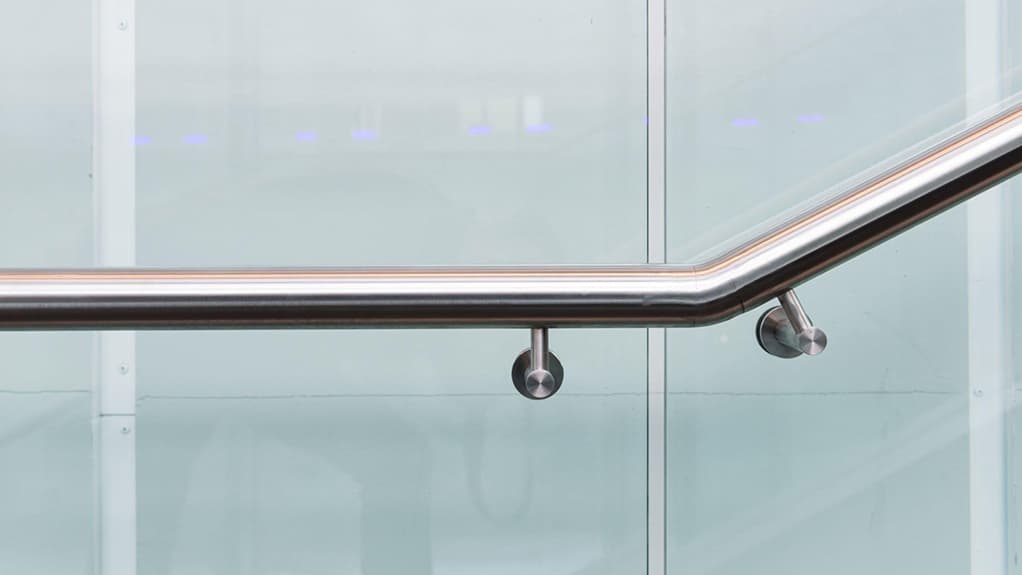
Back to design – complement it with a finish that suits your railing, such as brushed or polished. Brushed stainless steel has a dull, lustered look with a rough texture. Polished stainless steel has a bright, reflective surface.
Lastly, consider adding glass frames or cables to complement the design and have an unobstructed view.
Step 4: Customize Your Railing
With all these, it’s time to take your notes and create a custom design for your railing. Consider using computer-aided design software (CAD) or write down where the stainless steel railing hardware and fittings will be placed based on your measurements.
If this seems too much work, hire a designer to create your unique design. But be prepared to spend some money, as an interior or exterior designer can charge several hundred per hour.
Also, consider adding finishing touches like decorative caps and lights. Make sure to account for these extras in your measurements to install the railing system successfully.
Step 5: Install Your Railing
Congrats! You will witness your design come to life, finally.
There are two ways you can go about this. You can either choose to install the railing yourself or hire a contractor to do it for you. If you’ve never installed something similar before, it can be an intimidating task to tackle.
Have no doubts that if you follow the manufacturer guidelines, you will find that installing a whole stainless steel railing system is very straightforward.
So before hiring a professional, take a look at the instructions and decide if you’re up for it. All you will need is the necessary tools for railing installation, which most are standard home improvement tools.
Whether you install it yourself or let someone else do it, always check to see if the railing is level and secure. If there are any problems, address them immediately to prevent compromising safety.

Tips and Suggestions for Achieving the Perfect Look
Create or choose a railing design that complements your property’s style. Factor in the color of the installation surface, the walls, the view – anything that touches or surrounds your railing.
You can use contrasting colors and materials to create visual interest. The contrast between the materials will make the transition much more visually striking. Consider using other materials that can add a powerful look, such as utilizing wood in handrails or posts.
You can also add lighting to create an ambiance and highlight the railing. The light can highlight specific parts of the railing where you want it to bring the spotlight. It can be at the bottom of the posts, along the top rail, or anywhere else you want to put forward.
Conclusion
Creating a custom railing design and installing it yourself is 100% worth the time and effort. You will have a railing system on your property that you’ve designed, installed, and appreciate just by looking at it in the end.
Once your design is ready, the only thing left to do will be to gather the products, which is where we can have a say.
Unity Metal is a leading stainless steel railing’s manufacturer with a proven track of delivering consistency in product quality. We are the primary supplier of countless businesses in North America. If you’re looking for railing products to purchase, whether at an individual or business level, we’re here to help.
We can supply you with all kinds of stainless steel railing products, from handrails to glass clamps. Contact us with your inquiry to request a free quote today!
